
Virtual Assistant: What is Lightshot?
This is one of the first tools in its series, and many consider it a must-have for becoming a legendary virtual assistant. One of the simplest tools in this category is called ‘Lightshot.’ Essentially, it offers an easy way for any virtual assistant to take screenshots professionally on their computer.
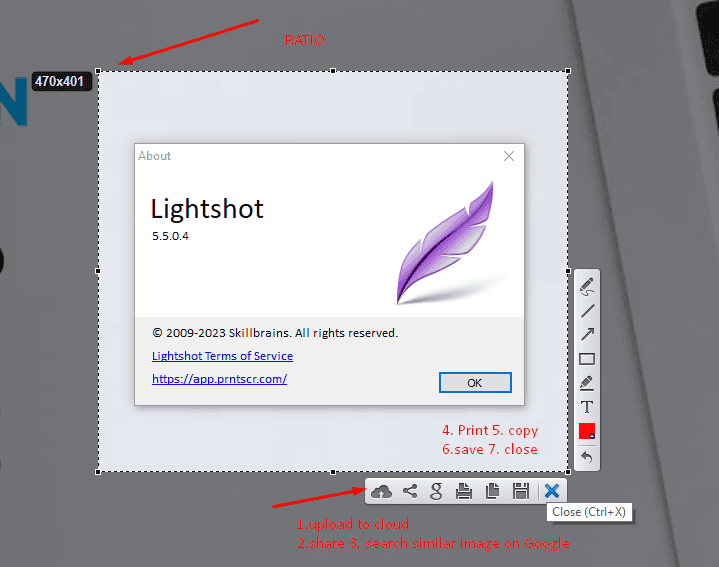
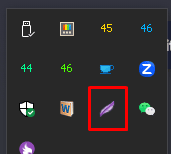
Lightshot is a third-party application available for both Windows and Mac. Once downloaded, it automatically starts with your computer. It’s easily recognizable by its icon, a purple feather, which allows you to capture screenshots. Lightshot offers a variety of options, including simple annotations, the ability to draw boxes and highlights, and even the feature to upload your screenshots to the cloud and share them via a link. However, some users may find the cloud-sharing feature a bit slow, as it requires the recipient to open the link in a web browser. Despite this, when it comes to taking and editing screenshots, Lightshot stands out as a versatile and user-friendly tool. It’s a simple yet indispensable tool for any virtual assistant, making it one of the most valuable assets in their toolkit.
**For Windows:**
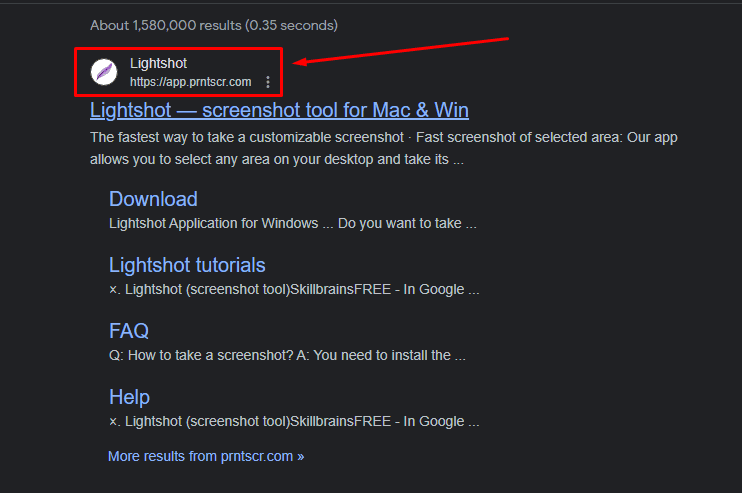
1. Open your web browser and go to the Lightshot website.
2. Look for the download section or button on the website’s homepage.
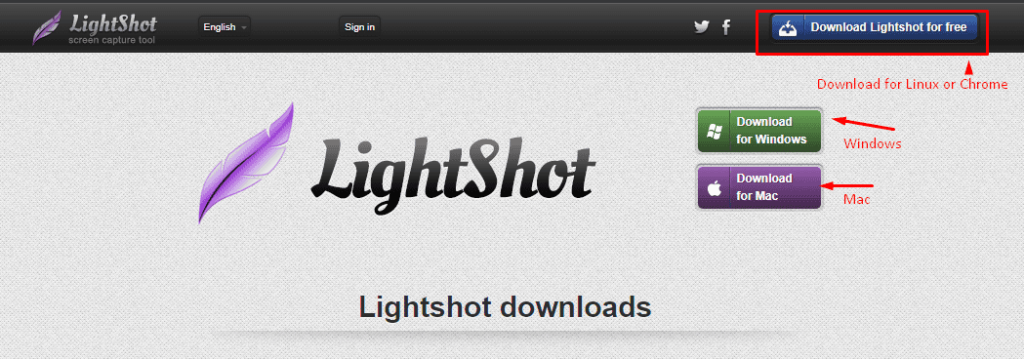
3. Click the download button for Windows.
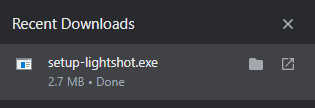
4. The download should begin automatically. If prompted, choose a location to save the installation file (usually a .exe file).
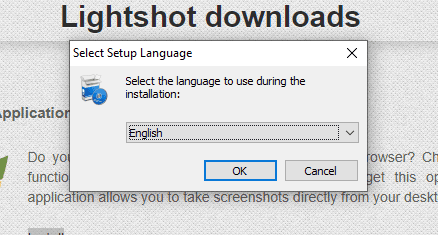
5. Once the download is complete, locate the installation file and double-click on it.
6. Follow the on-screen instructions to install Lightshot on your Windows computer.
7. After the installation is complete, Lightshot should automatically start with your computer.
**For Mac:**
1. Open your web browser and visit the Lightshot website.
2. Find the download section or button on the website’s homepage.
3. Click the download button for Mac.
4. The download should start automatically. The installation file is typically a .dmg file.
5. Once the download is finished, open the .dmg file.
6. Drag and drop the Lightshot icon into the Applications folder to install it on your Mac.
7. Lightshot is now installed and ready to use on your Mac.
That’s it! You’ve successfully downloaded and installed Lightshot on your computer. You can now use it to capture screenshots and enjoy its various features.
- Check Educatorian
- Check IELTS Rizz

Ian Tanpiuco is an ESL and virtual assistant. With a decade of experience, he has become an expert in his field. Dedicated to helping others achieve their goals, Ian works tirelessly in the classroom or as a virtual assistant.